First you need to buy a roll of this fencing, we just call it farm fence you can buy it at Lowes. It has squares that are 2 inches by 4 inches wide. We use the 3 ft. high size for our cucumbers, and cherry tomatoes. For our other tomatoes & the peppers we use the 2 ft, height. You will need a measuring tape & needle nose plyers/cutters.

For each cage you need to measure 7 ft. of fence, you can see in the picture that 7 ft. is right on the wire- but you want to go 1/2 way into the next square to cut it, then you will have a small piece of wire on the end to wrap around & secure the cage together Doing it this way you will get 7 cages per roll of fence.

after cutting the fence, form it into a circle & with the needle nose plyers twist the small piece of wire around and continue twisting it tight to secure the cage all the way down the side.

when you are done you will have a 2 ft. or 3 ft. high- round cage, it will look like this


once you have marked where the cage is going to go, you can dig a shallow hole, pulling the dirt up into a mound around the outside edge of your mark

place your cage inside so that it looks like this, and now plant 2 tomatoe plants on the OUTSIDE of the fence- across from each other on opposites sides. I thought I had a picture of the two plants, but apparently I didn't-- if you scroll down a few pictures you can see how they are planted

we then cover the smaller plants up with a milk jug, this makes it like a green house and will help the plant to grow faster. When the plants start to fill up the jug- remove it from the plant

these are larger plants & don't need to be covered with a milk jug, as the other plants grow to this size you place the stems & leaves inside the squares and help them to grow up the cage

then for the next few weeks after mowing the lawn we pour the grass clippings into the center of the cages, this helps the soil retain the moisture when you water them

this is a picture showing you how we plant our peppers-- because they grow into smaller plants that the tomatoes you can plant 4 to a cage-- again look to see how they are planted on the OUTSIDE of the cage

with the cucumber plants only plant 2 per cage, and weave them into the fence squares as they grow- they will climb the cage & the cucumbers will hang down making them really easy to see and to pick

so here you have the result of 10 hours of work on a beautiful summer day!!!! I can't wait to have fresh produce from the garden.

This is how we take a piece of PVC pipe and place it through the cages- there are holes drilled in the pipe so that it waters each plant.
 |
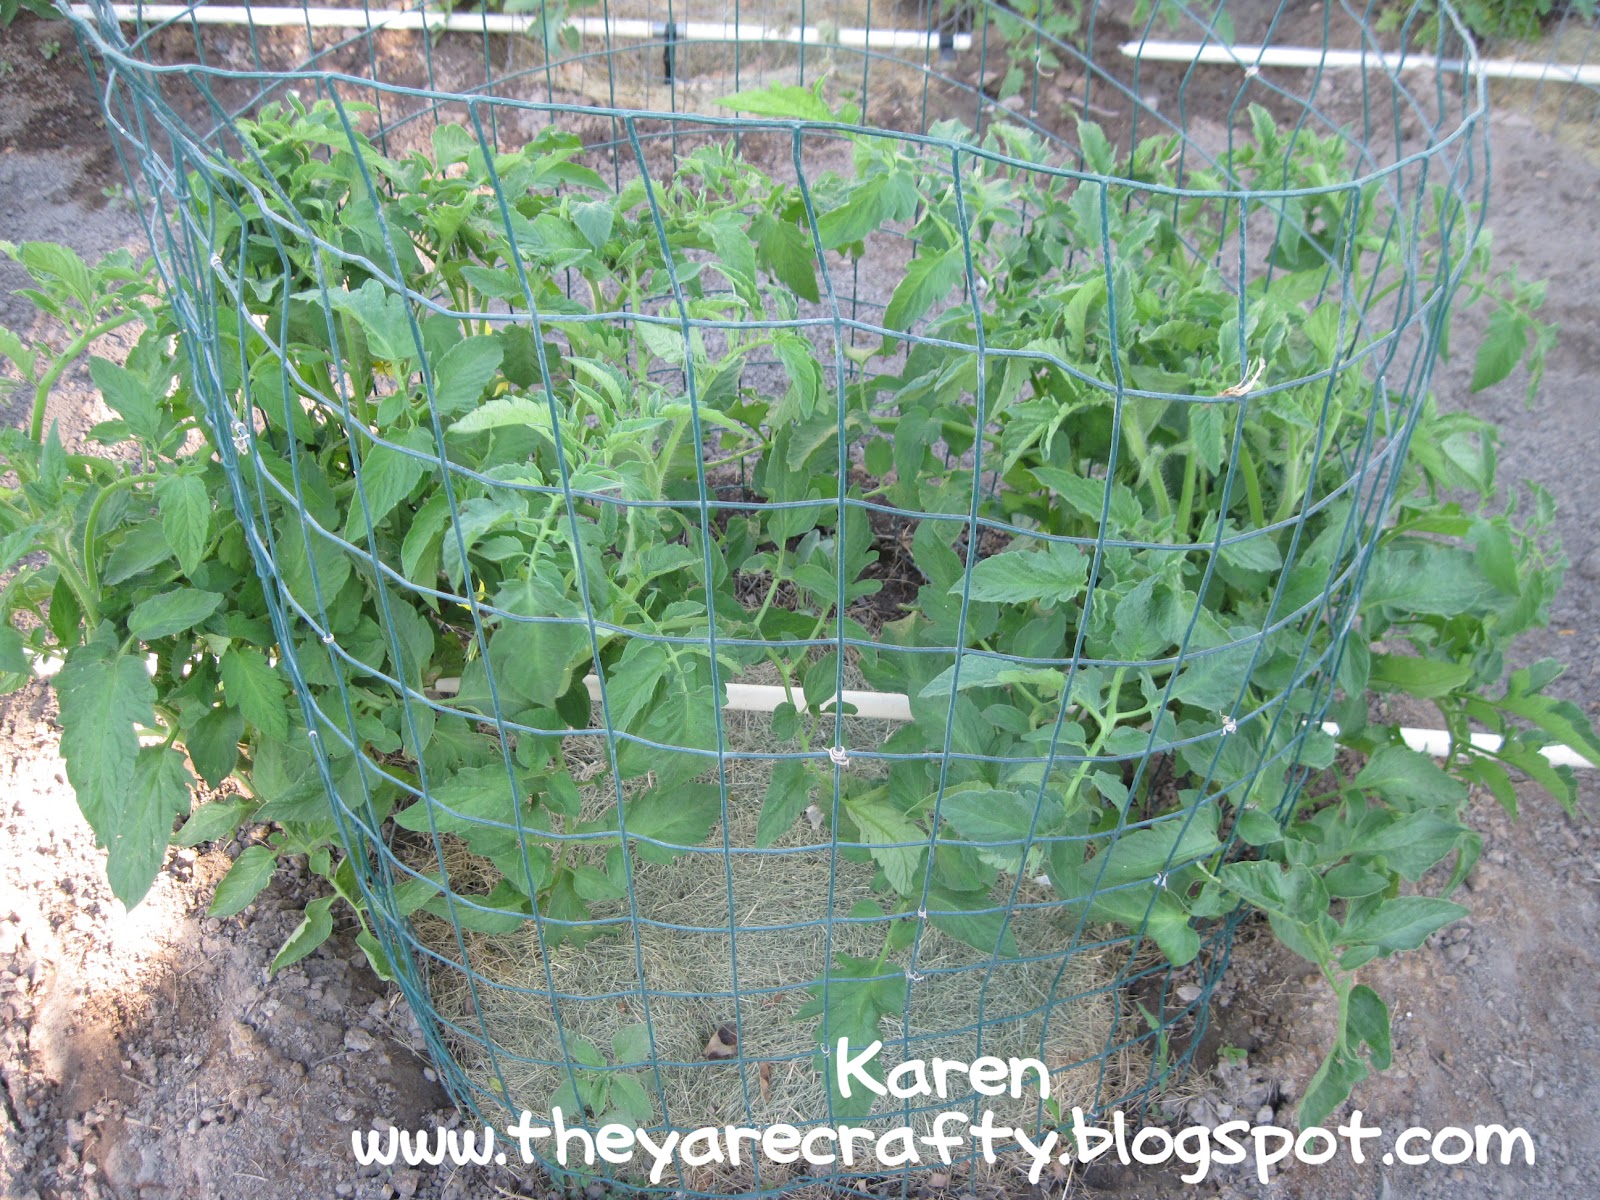
Here is a picture of the tomatoe plants after they have been growing for about 5-6 weeks. They will start to fill in the cage |
2 comments:
Karen, Thanks for posting the cages! I am so ready to go to Home Depot for fencing and get these made. I am so glad that I finally got onto your blog. It is so fun! Lu
Sorry I just saw your comment today... hope you can see how to make them, if you have questions call me!!
Post a Comment